Whenever I go home from a personal trip or a photo assignment,I would usually have a few of memory cards filled in. Imagine around 10-16 gigabytes of photos which is roughly more than a thousand photo files. Just thinking about sorting out and organizing all of those photos can be daunting. But if you have a system or work flow for organizing photos, life can be a little easier. I’m sharing here my current method on sorting and organizing my photo files straight from the camera. It’s not perfect and may be refined more in the future, but currently it works for me.

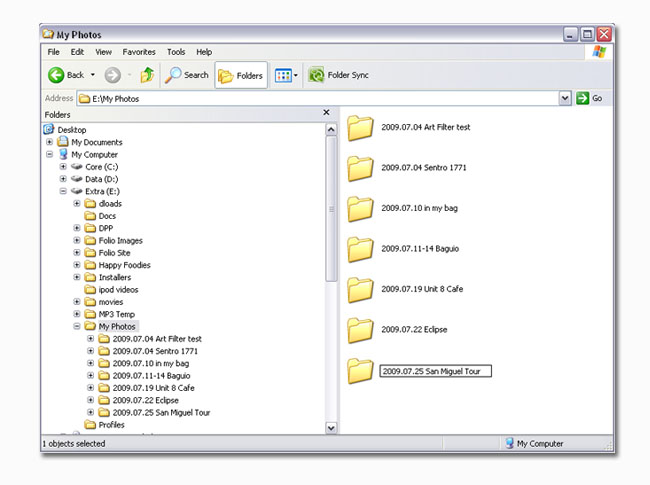
1. Organize and Name the Main Folder. I usually name the prefix of my folders with the dates. Particularly the dates those photos were taken. When organizing your folders by date the sorting usually follows the year, month and day then the title. So naming the folders “yyyy.mm.dd title” helps organize folders on the dates they were taken.

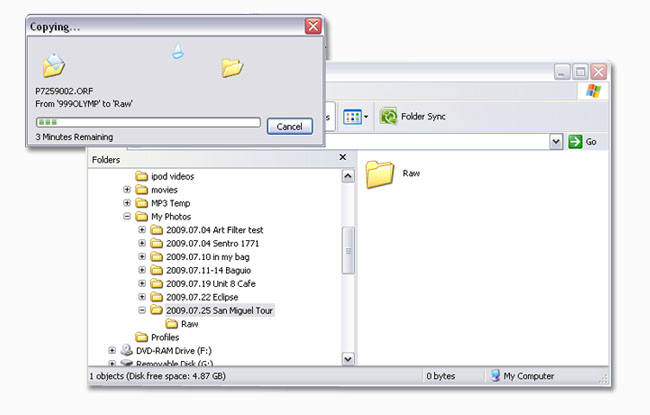
2. Download Files to your computer. Inside the main folder I usually prepare “Raw” folders depending on the number of cards I used. Usually I have a set of Compact Flash Cards that I bring, so if I have 3 cards used I create folders named Raw 01, Raw 02 and Raw O3. Then I extract each contents of each card to each appropriate folders.

3. Create Category Sub-folders. Now this is a bit tricky because category types changes like it can be a place, a time or an event. In this example I categorized the photos based on the places we visited in San Miguel District which are the Malacanang Palace and also the La Cocina de Tita Moning.

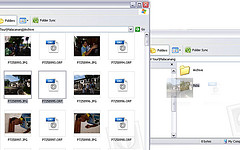
4. Create an Archive and a Picks Sub-Folder. Under each category folders I have the Archive and Picks folders. Archives is where I move all the photos from the Raw Folder photos related to that said category. When I moved all photos from Raw to their selected archives category I delete these Raw Folders. But do check first if there are left over files there.

5. Find your Keepers. This may probably the trickiest and time consuming part since you may have to take a close look at each one of them. So don’t expect to finish all of them overnight if you’ve got tons of photos to sort out. Here are some steps on picking out the keepers.
- Start out by removing photos which are hopelessly blurred, incorrectly exposed that cannot be salvaged, near duplicates, test shots and other useless snaps. It helps you cut down the numbers and save disk space as well.
- Make a quick pass and choose photos that readily stand out from your eye or your favorites then move them to the Picks Folder.
- Then take a second slow look on each photo and see what can be used or a potential keeper by slight corrections or cropping. When you have picked the potential ones move them to the Picks Folder.
- Finally don’t delete the Archives Folder. You may not have chosen those photos the first time around but looking at them with fresh eyes at a later time, you could possibly find other Keepers you may have overlooked before.
So that’s it. This is just the first part of the job as there’s the photo processing and also storing these media files as well. You can try out the method yourself and refine it, but as of now, this works for me. Do you have your own system? Care to share it?


Leave a Reply